Windows - Stage 1 - Setup
There are four stages in Windows Installation:
Stage 1 - Installation (you are reading this)
On this page you’ll learn:
-
Setting up StoryServer for Windows.
-
Options to select for installation.
Windows - Installation Steps
Before installation, ensure your Windows computer meet System Requirements.
Decision Process
Installation Path Overview

Decision Making Process for Stage 1, Step 6.
Another user cannot and must re-install it.) G[ ] --> L(All users on that machine can use it.
Good for for network users.) I[ ] --> M(User can move around to any computer.
Application and Data File are in USB.) D[Non-Admin-Install?] --> E(Select Just Me in Stage 1-Step 6) F[Admin-Install?] --> G(Select All Users in Stage 1-Step 6) H[USB / Portable Install] --> I(Select USB Mode in Stage 1-Step 6)
Stage 1 - Installation
-
Download StoryServer from this website.
-
Launch the PolywickStoryServer installation.
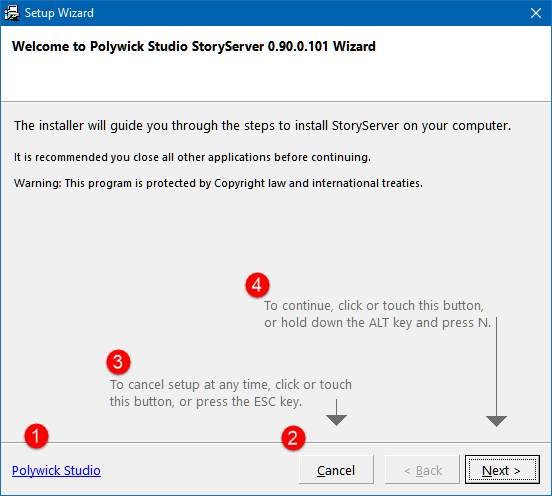
Stage 1 - Step 1
-
Press the Polywick Studio label to launch a browser to this website.
-
Press the Cancel or ESC to close the installation.
-
Press the Cancel or ESC to close the installation.
-
Press the Next or Alt+N to go to next page.
Stage 1 - Step 2

-
Press the Polywick Studio label to launch a browser to this website.
-
Press the Cancel or ESC to close the installation.
-
Press the Back or Alt+B to close the installation.
-
Press the Next or Alt+N to go to next page.

Stage 1 - Step 4

-
Request to uninstall instead of install. This will stop the installation and uninstall everything.
| If a previous version of StoryServer is present, Step #4 will display. Otherwise, setup will skip to Step #5. |

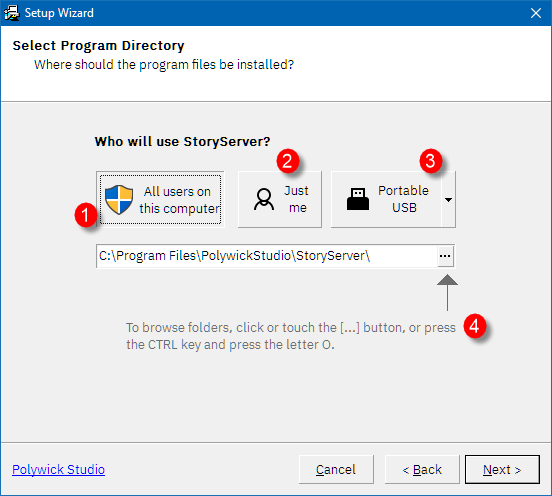
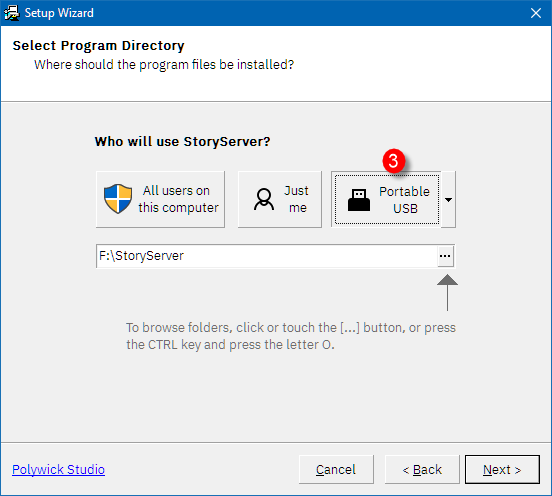
Stage 1 - Step 6
-
Install to My Computer. Requires Admin-Rights.
-
Install for Just Me. Does not require Admin-Rights.
-
Install to USB. Please insert your USB for installation. USB-mode.
-
Change folder/directory to install StoryServer.
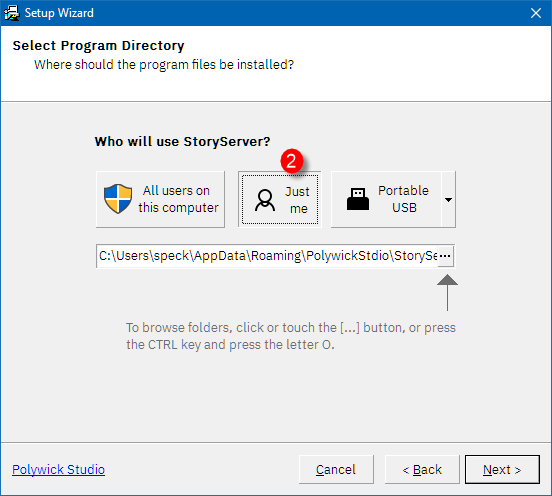
Stage 1 - Step 6B - Just Me
-
When JustMe is selected, it will select a path which does not require admin rights to install.
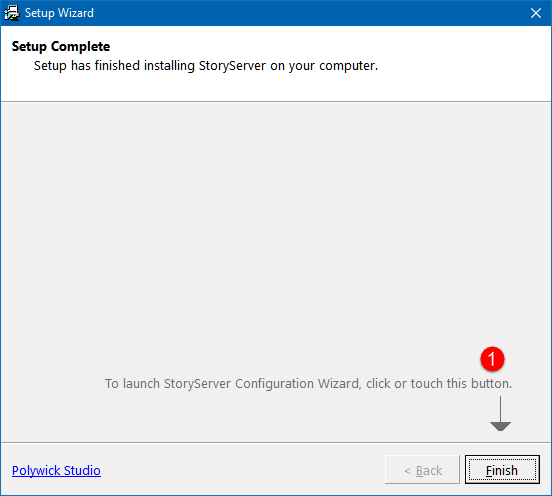
Stage 1 - Step 7
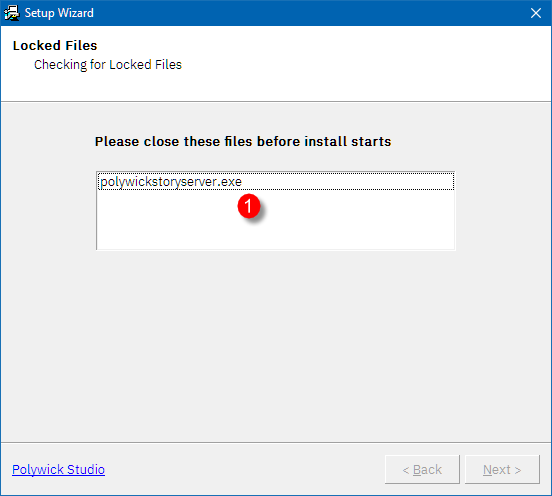
If you are still running StoryServer or Configuration Wizard, you will be asked to manually close it.
-
Make sure you close StoryServer.
Stage 1 - Step 8
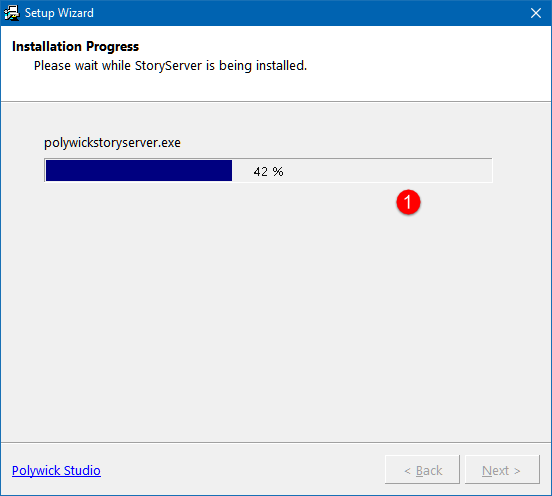
-
Installation in progress. StoryServer are copied to the program directory.